
The BEST Homemade Red Velvet Cake
OK OK I'VE HEARD YOU! YOU WANT A GOOD RED VELVET CAKE RECIPE AND YOU WANT IT NOW!!!! (Yeah I've got your emails lol. I love you guys!)
I've tried a few recipes that were...OK. Nothing that really blew my stilettos off though. Until I played around with merging three recipes (God I love Chemistry) and out came THE MASTERPIECE!!!
This red velvet cake recipe is SUPERB!!!! And look it passes the stick to the back of the fork test like a champ!

Of course I had to make this a down home southern red velvet cake and put my G.R.I.T (girl raised in the south) stamp on it by adding in some good ol hot coffee. It takes this cake to the next level!! (don't worry you can't taste the coffee) It just kicks up that red velvet taste.
The cream cheese frosting that goes with this red velvet cake is....how can I say this.... THE BOMB!!! It's silky smooth, light, and sweet but not so sweet that it overpowers the cake like some cream cheese frosting tend to do, you know what I'm saying?
I hope that you guys enjoy this cake as much as I do. Lord knows I didn't want to make this cake...but I have to give my spoiled readers what they demand.....and now I have all this cake.... that I have to eat all by myself.....*sigh* oh well....life is tough like that sometimes.
Ingredients
Ingredients
2 cups all purpose flour
1 teaspoon of baking soda
1 teaspoon of baking powder
1 teaspoon of salt
2 Tablespoon of unsweetened, cocoa powder
2 cups sugar
1 cup vegetable oil
2 eggs
1 cup buttermilk
1 teaspoon of white distilled vinegar
2 teaspoon of vanilla
2 teaspoon of vanilla
2-3 oz. red food coloring
1/2 cup of prepared plain hot coffee (I used Folgers vanilla biscotti coffee but any plain hot coffee will do) Don't skip this ingredient, even if you have to run to Mickey D's to get a cup of coffee! It's worth it!
Frosting
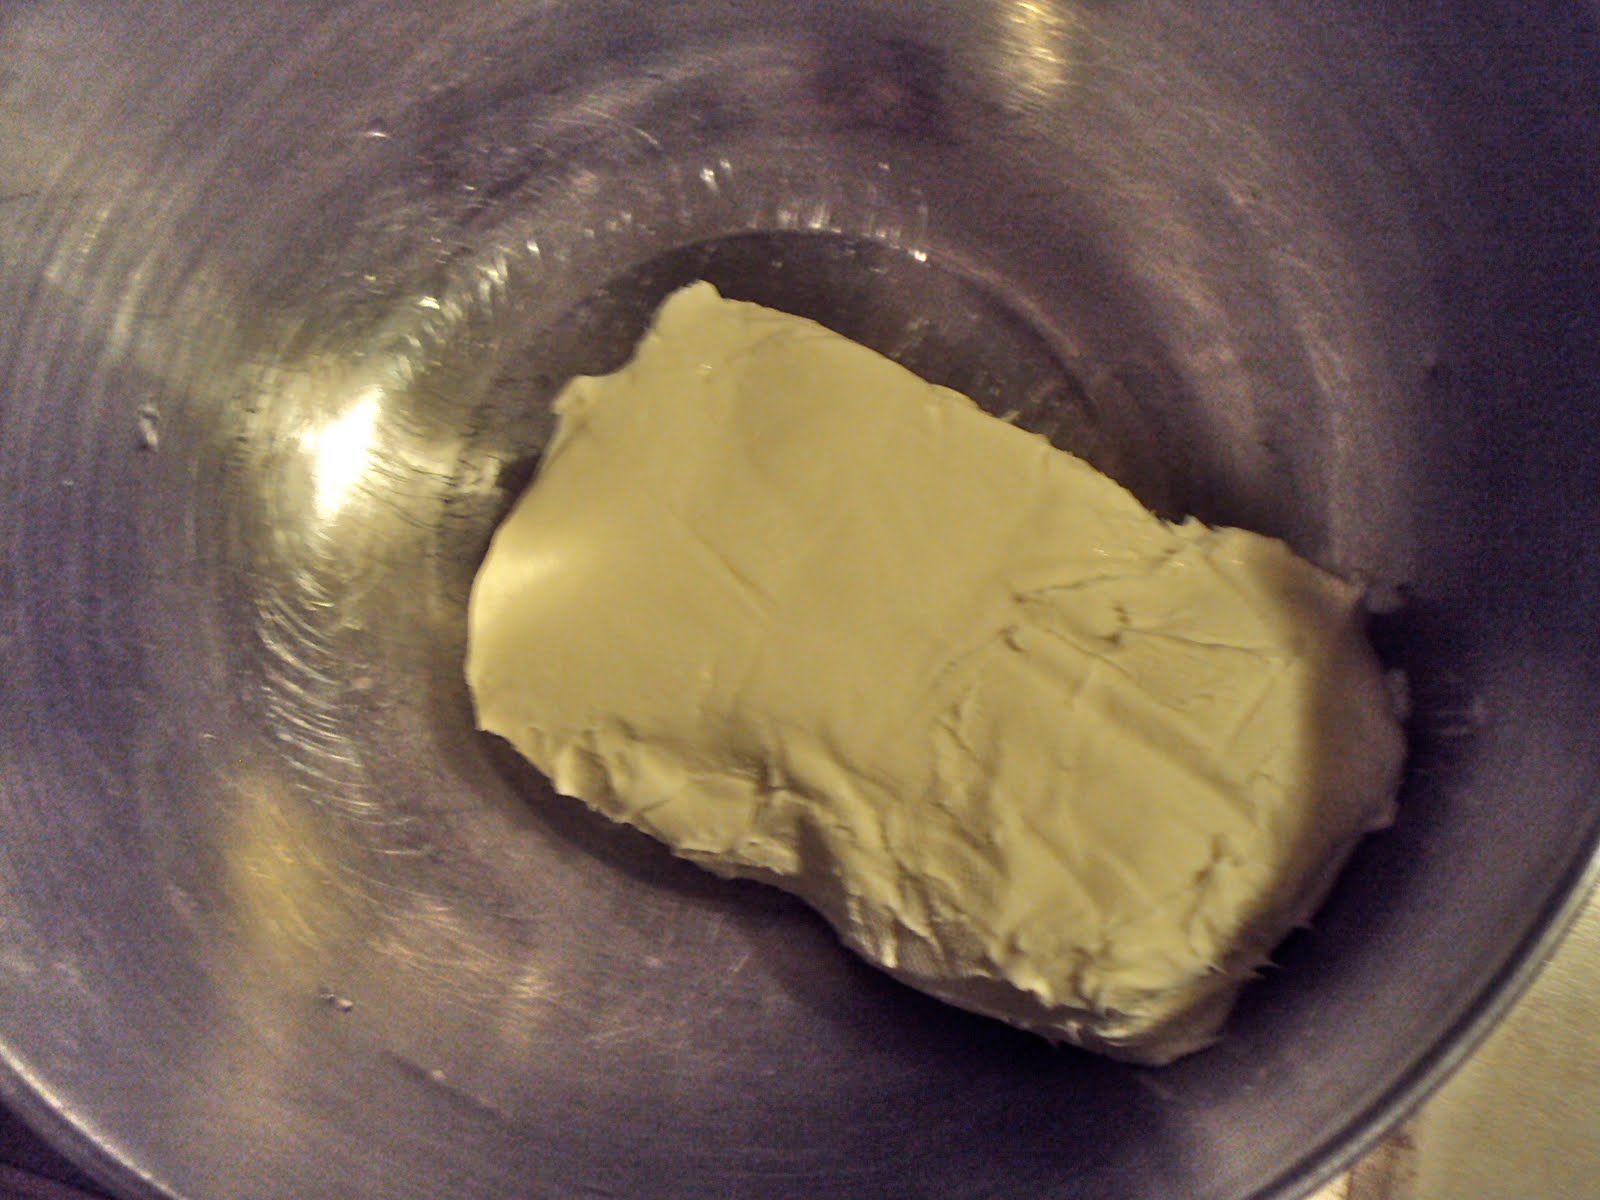
1 (8 oz) package of cream cheese, softened
2 Tablespoons of milk
4 Tablespoons of butter, softened
1 teaspoons of vanilla
2 cups of powdered sugar
Preheat oven 325 (yes that tempt. is correct)
Step 1.) In a large bowl add flour, baking soda, baking powder, salt & cocoa powder. Whisk until well combined. Set Aside.


Step 2.) In a separate large bowl, add sugar and oil. Mix until combined.


Step 3.) Add in eggs, buttermilk, vanilla & red food coloring. Stir until combined.


Step 4.) Next add in the coffee & vinegar. Stir until combined.


Step 5.) Pour the flour mixture into the sugar mixture a little at a time. Beating until well combined.


Step 6.) Pour the batter into 2 greased & flour 9 inch round cake pans. Bake for 30-40 minutes or until toothpick inserted into center comes out clean. Another way to check for doneness is to lightly press the cake on top, if it springs back then it is done, if the dent remains in the cake then it is not done. Do no overbake.


Step 7.) When the cakes are done let them cool in the pan for about 10-15 minutes. Then remove them from the pan and let them finish cooling on a wire rack.

While the cakes are cooling let's make the frosting!!
Step 1.) In a bowl combine cream cheese, milk, vanilla & butter. Mix until combined.


Step 2.) Add in powdered sugar and mix until silky smooth! Oh yall let me tell ya! I made this frosting with only 1 3/4 cup of powdered sugar because I ran out and it was soooo silky smooth! Try it that way and if you prefer a thicker frosting then go ahead and add in that other 1/4 cup of powdered sugar.


Done!!
Wasn't that easy!!
Go ahead and eat some frosting. I can never resist!
Time to Frost the Cakes!
Step 1.) When the cakes are completely cooled, lay the first layer down (flat side down). Be careful, these cakes are very delicate & soft. Place a huge globe of frosting in the center and work your way out. I'm using an offset spatula and HIGHLY recommend these for frosting cakes. LOVES IT!

Step 2.) Place the top layer on next (flat side down) and frost the top and sides.


ENJOY!!!
Oh guess what!? I got a new digital camera!! I know you can't tell from the pic quality lol. I'm still learning how to work it. Better pics are coming up for you all!!
No comments:
Post a Comment