Showing posts with label Cakes. Show all posts

Monday, 30 May 2011

Japanese Cheesecake Recipe

Homemade Japanese Cheesecake- My 2011 Birthday Cake
Japanese Cheesecake

Here's my birthday cake!!! Every year I make myself a birthday cake. It's always a cake that I've never tasted before and I eat the whole thing all by myself! Hey, it's my BIRTHDAAAAAY!!

This year I tackled the Japanese cheesecake!!! If you follow me on facebook then you know I've been wanting to make this cake for a while now. The whole idea of a cheesecake being creamy, yet fluffy and light intrigued me so much!

I must say, this cake did not disappoint! I'm so glad I tried it and will definitely be using it to make more stuff, like a new base for my strawberry shortcake and Japanese ice cream sandwiches (I saw these on tv and fell in love so stay tuned for that recipe)

Don't let the boring, plain look fool you. It does look kinda blah but once you sink your choppers into this bad boy you'll understand why so many people prefer this lighter, cakier  version of cheesecake over the heavy, dense American version. (I still prefer my super heavy, fattening American cheesecake though : )

My hubby hated this cake and thought it was super gross lol (he's so unadventurous at times!)

This cake truly is a piece a heaven in my opinion.  It's lightly sweetened, super light and "pillowy" with a creamy taste.  I topped one side with a fine layer of powdered sugar and the other with an apricot spread and fresh strawberries. So good!

It's SO EASY to eat slice after slice since it's so airy and fluffy. One slice hardly seems like enough! The next time I make this I'll dust the entire cake with powdered sugar and a mixture of fresh fruits (strawberries, blueberries, peaches) in the center and serve with a dollop of homemade cool whip. Ahhh... the perfect, elegant ending to summer meal.

Japanese Cheesecake 
Ingredients (adapted from food.com)
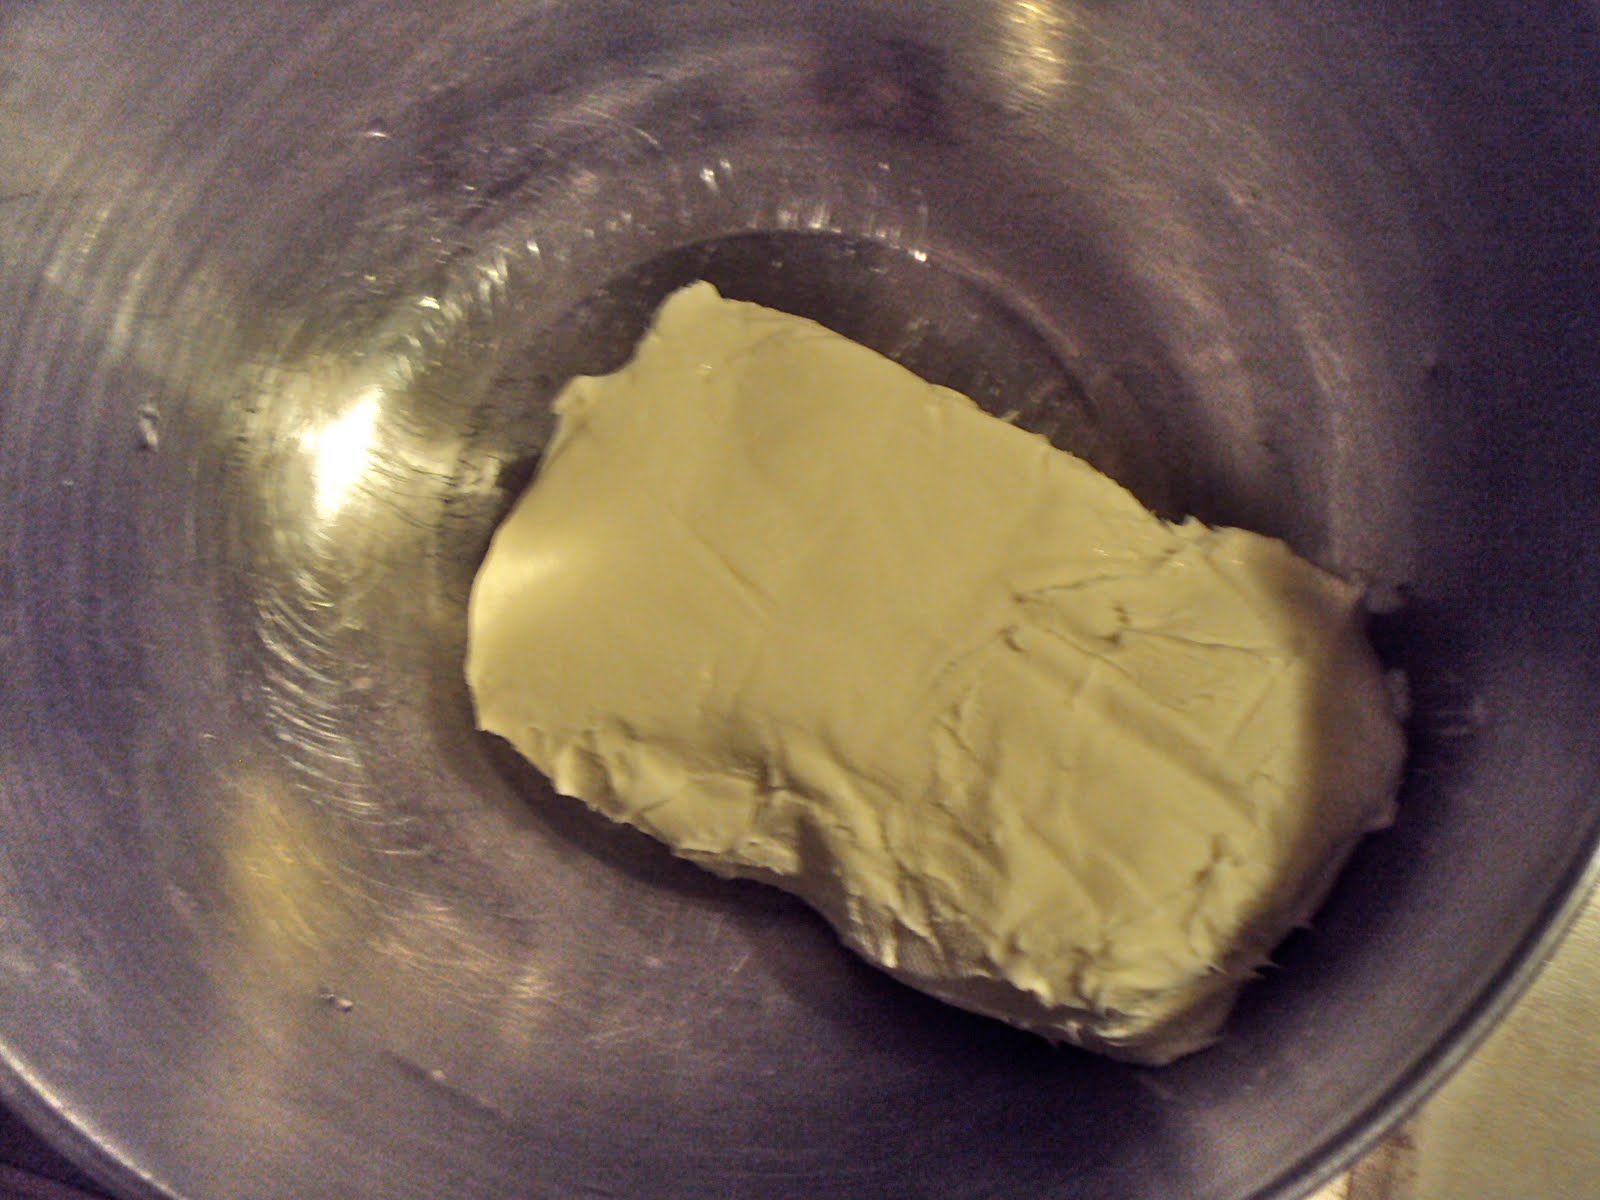
8 oz cream cheese (softened, room tempt.)
1/4 cup whole milk
1/2 cup powdered sugar, divided
1/4 cup cornstarch
3 egg, separated
2 tablespoons fresh lemon juice
1/2 teaspoon cream of tartar

2-3 cups boiling water (to make the water bath)

Topping (optional)
2 tablespoons fruit preserve ( I used apricot)
1 tablespoon water (or enough to make is easily spreadable)
fresh strawberries, diced

Watch me make this Japanese Cheesecake recipe from start to finish!

b>


Preheat oven to 350


Refrigerate leftovers.

Sunday, 24 April 2011

Grandma's Makes Cream Cheese Pound Cake

If you were to stop by, you wouldn't leave without being forced to eat something!
Gotta love that lady

Grandma's Cream Cheese Pound Cake

My grandma rocks on so many levels. Even though I'm grown and out of the house I still look forward to going out of town to grandmas. She still baby's and spoils me rotten.

It should be a sin for a pound cake to be this divine!
I swear everything her hands create tastes soooo freakin good, including her cream cheese pound cake (my favorite kind of pound cake).

I could just sit in her country kitchen and watch her cook all day long. When I went to visit this past weekend I asked if she could make me a cream cheese pound cake and with a smile she said "why sure".
I love my grandmother's nurturing, hard working hands

I wasn't expecting it right that minute but she went into the kitchen and whipped this pound cake up like it was nothing.

What I adore about my grandma's cream cheese pound cake recipe is that it bakes up incredibly moist and soft. The texture is so velvet-like and don't even get me started on that soft, golden "crisp" that the outside has. Mercy. I hope that you enjoy this recipe as much as my entire family has over the years. 

INGREDIENTS (all ingredients should be room tempt.
3 sticks real butter (unsalted)
8 oz cream cheese
6 large eggs
3 cups sugar, sifted
3 cups cake flour (can use all-purpose flour if you sift it really well)
1/2 teaspoon baking powder
3 teaspoons vanilla, extract
2 teaspoons lemon extract


Watch my grandma make this cream cheese pound cake from start to finish!


Grandma's Cream Cheese Pound Cake Making Tips

  1. Use fresh, quality ingredients when possible.
  2. All ingredients should be at room temperature before you start.
  3. This pound cake make cooker quicker or slower in certain ovens so be sure to keep an eye on it. 
  4. Don't take shortcut with the mixing! Everything must be completely mixed. These steps are the most important when creating pound cake.
  5. Be sure to add one egg at a time and mix for 1 minute after each egg or until it is well combined.
  6. Do not preheat the oven for this pound cake recipe. It should start in a cold oven.
  7. Measure everything carefully and precisely
  8. Be sure to scrape down the bottom and sides of the bowl while mixing.
  9. Keep the oven door closed while baking
  10. When the cake is done, it will spring back slightly when touched.
  11. Cool the pound cake on a wire rack of about 15 minutes before removing it from the pan.

Sunday, 17 April 2011

Super Moist Carrot Cake & Cream Cheese Frosting (reuploaded)


Super Moist Carrot Cake

(I'm reposting this recipe to add the new video to it)

I absolutely adore this carrot cake recipe. It's super easy and never lets me down. It's a basic carrot cake that doesn't have a lot of "stuff" packed inside of it so it is definitely a crowd-pleaser. It is soooo soft and moist (finely grated baby carrots is the trick!).

Everytime I make this cake I find myself sneaking into the kitchen and cutting little thin slices and before I know it the whole cake is gone! The cream cheese icing is creamy with just the right amount of sweetness to compliment this carrot cake.

I got this recipe from my sister Nikki. She doesn't bless us with her cooking much, but when she does it is always a hit.

Feel free to add in raisins, pineapples and coconut if you like that in your carrot cake.


Ingredients:
Carrot Cake
1 1/2 cups granulated sugar
1 cup vegetable oil
3 eggs
2 cups Gold Medal® all-purpose flour
2teaspoons ground cinnamon
1teaspoon baking soda
1teaspoon vanilla
1/2 teaspoon salt
2 1/2 to 3 cups cups finely grated baby carrots
1 cup coarsely chopped walnuts (optional)


Watch me make this super moist homemade carrot cake from start to finish!


Directions
1.)Heat oven to 350°F. Grease bottom and sides of one 13x9-inch pan or two 8-inch or 9-inch round pans with shortening; lightly flour. In large bowl, beat granulated sugar, oil and eggs with electric mixer on low speed about 30 seconds or until blended.

2.) In a seperate bowl,  add flour, cinnamon, baking soda and the salt; Whisk to combine.

3.) Add dry mixture into wet mixture a little at a time. Mix to combine.

4.) Add vanilla and stir in the carrots.

 5.) Pour into pan(s).

6.) Bake 30 to 35 minutes, or until toothpick inserted in center comes out clean. Cool rounds 10 minutes; remove from pans to cooling rack. Cool completely.

7.) Frost cake. Store in refrigerator.

Friday, 4 March 2011

Easter Cupcakes Basket Recipe

Cute Easter Basket Cupcakes Ready For Gift Giving
Easter Basket Cupcakes

My mother use to make these Easter basket cupcakes every single year when I was in elementary school. Right around spring time the teachers would start hinting around to see if she was gonna make them that year lol

I love how down right adorable they are and better yet, how freakin easy it is to whip them up from scratch.


Of course you can use a box cake mix, but really, why use a box when this homemade vanilla cupcake recipe is so quick and delish.  Just toss everything into a bowl and mix! Yep, it's that easy!

The cupcakes bake up super moist & soft from that sour cream added into the batter. The light hint of almond extract goes so well with the coconut "grass" topping and of course the butter flavored crisco and mexican vanilla gives them a classic buttery vanilla flavor.

Ingredients:

Vanilla Almond Cupcakes (makes 12 cupcakes)
1 cup all-purpose flour
3/4 cup sugar
1 1/4 tsp. baking powder
1/2 tsp. salt
1/4 cup butter flavored Crisco
1/2 cup half n half
1/2 cup sour cream
1 egg
1/2 tsp vanilla extract
1/2 -1 tsp almond extract

Decoration
1 cup shredded coconut
green food coloring
egg-shaped candy (jelly beans. I used Whoppers)
Small Chocolate bunnies or Peeps

Frosting
1 cup powdered sugar
5 Tablespoons butter, softened
Few drops of vanilla extract
2-3 tsp of half-n-half or milk

For frosting: Mix ingredients together in a bowl on medium speed until creamy. You may need to add a few more drops of milk if the frosting is too thick, but be careful, it doesn't take much milk to make the frosting runny.


Watch me make these Easter Basket Cupcake from start to finish!


Tuesday, 25 January 2011

Banana Pudding Cupcakes


Banana Pudding Cupcakes

I love banana pudding. I love cupcakes. I see no reason why these two fitting citizens can't make a baby.  I present to you: Banana Pudding Cupcakes.

A french vanilla flavored cake with banana cream pudding mixed into the batter along with chunks of fresh bananas and crushed Nilla Wafers. No need to get fancy with the frosting, simply top with cool with and Nilla Wafers for all the comforting flavors of banana pudding in a cupcake form.
This is my latest concoction using that new PHILADELPHIA Cooking Creme that I was sent last month to sample. I used the original flavor in this banana pudding cupcake recipe and I'll have to say it's a keeper!

The cooking creme made these babies super moist and balanced out the flavors perfectly!  The cooking cremes (which come in four flavors) are already starting to hit the shelves so be on a lookout for them in your grocery store.

Watch me make these Banana Pudding Cupcakes from start to finish!


  • 1 box French Vanilla Cake Mix
  • 1 box Instant Banana Cream Pudding (3.4 oz)
  • 3 Eggs
  • 1/2 cup(s) of Vegetable Oil
  • 1/2 cup(s) of Water
  • 10 ounce(s) of PHILADELPHIA Original Cooking Creme
  • 1 cup(s) of Bananas, smashed
  • 2 cup(s) of Nilla Wafers, crushed (plus more for garnishing if desired)
  • 8 ounce(s) of Cool Whip
Steps
  1. In a large bowl, add in the first 6 ingredients.
  2. Mix until all of the ingredients are combined.
  3. Fold in the bananas and Nilla wafers.
  4. Line cupcake pans with cupcake baking papers.
  5. Spoon the batter into the cupcake baking papers (about 3/4 full)
  6. Place the cupcakes into a preheated 350 degree oven for 18-20 minutes.
  7. When cupcakes are done, remove them from the pan and place them on a baking sheet.
  8. Place them into the freezer to cool for 10 minutes.
  9. Garnish with Cool Whip and crushed Nilla Wafers.
  10. Serve cold.

Wednesday, 8 December 2010

Chocolate Peppermint Cupcakes


Chocolate Peppermint Cupcakes

My sister made these chocolate peppermint cupcakes in a mini version for a baby shower this past weekend and I fell in love. I'm not really one to go gaga over minty flavored desserts or candy but there is just something about the intense chocolate of this cake recipe paired up with the cool, crunch of the peppermint that just sends me over the edge.

I just couldn't stop eating these things. The fact that this recipe uses cool whip instead of frosting makes it even easier to down one after the other.  She got the recipe from a Kraft magazine but I replaced the box cake with a scrumptious, moist homemade devils food cake and it made a perfect recipe even better in my opinion.

These chocolate peppermint cupcakes looks so festive around Christmas time, like something straight from a professional bakery. I think these would be great to take into work as a lil treat for the co-workers (if they deserve it) or to a school Christmas party.

They are easy, quick, festive and best of all, a great pairing of flavors and textures.

Watch me make these Chocolate Peppermint Cupcakes from start to finish!

Chocolate Peppermint Cupcakes

INGREDIENTS:
2 cups all purpose flour
1 teaspoon salt
1 teaspoon baking powder
2 teaspoons baking soda
3/4 cup unsweetened cocoa powder
2 cups sugar
1 cup vegetable oil
1 cup hot coffee
1 cup milk
2 large eggs
1 teaspoon vanilla
8 oz cool whip
3/4 cup semi-sweet chocolate chips (plus more for melting and drizzling over cool whip
6-7 candy canes, crushed


Preheat oven to 325. Bake cupcakes for 15-20 minutes. Do Not Overbake. The center of cupcakes will spring back when touched when they are done.


Notes:
Crush the candy canes into bits. If you leave them in large chunks they will sink to the bottom of the cupcake while baking and make the bottom of the cupcakes stick to the paper. The candy canes will melt while baking


The cupcakes will not have a coffee taste. The coffee just kicks up the flavor of the chocolate. I always add coffee to my baked chocolate desserts to enhance the chocolate flavor. Yum!


Wanna Use A Boxed Cake Instead? Follow this recipe for super moist results:
1 pkg. devils food cake mix
1 pkg. (3.9 oz.) JELL-O Chocolate Instant Pudding
1 cup Sour Cream
1/2 cup oil
1/2 cup  water
4 eggs

Tuesday, 15 June 2010

Rainbow Cupcakes for My Little Mook-Mook


Rainbow Cupcakes!

Something AMAZING happened at my home this week... a major milestone was reach...one that I thought would never come....MY BABY IS POTTY TRAINED!!! and he did it all by himself!!

I was gonna wait until he reached that two and half mark (in a few weeks) to start this process. I had all the stickers, charts, the works!! Well Mook-Mook literally woke up and said "pee pee in the potty" and he's been using it faithfully ever since!! He even wakes up in the middle of the night to tell me has to go potty.

Ahhhhh I'm beaming! I'm so proud of my boy and the realization that he will not be 20 years old and still in diapers.  I HAD to celebrate! I wanted to throw a party!!! One with streamers, balloons, and a potty theme...oh I had it all planned out but then I realized that it was a bit much, just a bit though.

Instead I decided to make him a special little treat. Something different. Something that I knew would bring a smile to his face.  RAINBOW CUPCAKES!! This rainbow cupcake recipe produces a bright, fluffy, & light vanilla flavored cupcake that is lightly sweetened. I frosted it with cool whip and it made for a quick, easy and special little after nap snack!

These cupcakes would go great for a carnival themed party. I can't help but think of clown hair when I eat these. You could also use a white boxed cake for this. To make tie-dye cupcakes, lightly swirl the batter with a knife.


Watch me make this rainbow cupcakes recipe from start to finish!


Ingredients
1  1/4 cups flour
1 1/2 teaspoons baking powder
1/4 teaspoon salt
1  cup sugar
2 large eggs
1/2 cup vegetable oil
3/4 cup buttermilk
2 teaspoons vanilla
food coloring- blue, green, orange, red, yellow


Preheat oven to 350
Directions
Step 1.) In a medium bowl, whisk together flour, baking powder, & salt. Set aside.
Step 2.) In a large bowl, whisk eggs, buttermilk, sugar, oil & vanilla, until combined.
Step 3.) Add the dry ingredient to the wet ingredients and mix until combined.
Step 4.) Divide the batter up into 5 bowls.
Step 5.) Add a few drops of food coloring into each bowl until the colors are vibrant.
Step 6.) Spray a muffin tin with cooking spray.
Step 7.) Layer the colors in the muffin tin starting with blue then, green, yellow orange & red. Do not try to smooth the batter. Use a swirling motion to layer the colors.
Step 8.) Cook for 15 to 20 minutes.

Wednesday, 18 November 2009

The BEST Red Velvet Cake Recipe ~Easy, Homemade, Moist with Southern Flair~


The BEST Homemade Red Velvet Cake

OK OK I'VE HEARD YOU! YOU WANT A GOOD RED VELVET CAKE RECIPE AND YOU WANT IT NOW!!!! (Yeah I've got your emails lol. I love you guys!)

I have been on the search for the best homemade red velvet cake recipe for a while now. I wanted one that was easy,  super moist, melt-in-your mouth soft with that signature light chocolaty red velvet taste.

I've tried a few recipes that were...OK.  Nothing that really blew my stilettos off though. Until I played around with merging three recipes (God I love Chemistry) and out came THE MASTERPIECE!!!

This red velvet cake recipe is SUPERB!!!! And look it passes the stick to the back of the fork test like a champ!


 Of course I had to make this a down home southern red velvet cake and put my G.R.I.T (girl raised in the south) stamp on it by adding in some good ol hot coffee. It takes this cake to the next level!! (don't worry you can't taste the coffee) It just kicks up that red velvet taste.

The cream cheese frosting that goes with this red velvet cake is....how can I say this.... THE BOMB!!! It's silky smooth, light, and sweet but not so sweet that it overpowers the cake like some cream cheese frosting tend to do, you know what I'm saying?

I hope that you guys enjoy this cake as much as I do. Lord knows I didn't want to make this cake...but I have to give my spoiled readers what they demand.....and now I have all this cake.... that I have to eat all by myself.....*sigh* oh well....life is tough like that sometimes.


Ingredients

2 cups all purpose flour
1 teaspoon of baking soda
1 teaspoon of baking powder
1 teaspoon of salt
2 Tablespoon of unsweetened, cocoa powder
2 cups sugar
1 cup vegetable oil
2 eggs
1 cup buttermilk
1 teaspoon of white distilled vinegar
2 teaspoon of  vanilla
2-3 oz. red food coloring
1/2 cup of prepared plain hot coffee (I used Folgers vanilla biscotti coffee but any plain hot coffee will do) Don't skip this ingredient, even if you have to run to Mickey D's to get a cup of coffee! It's worth it!

Frosting

1 (8 oz) package of cream cheese, softened
2 Tablespoons of milk
4 Tablespoons of butter, softened
1 teaspoons of vanilla
2 cups of powdered sugar

Preheat oven 325 (yes that tempt. is correct)

Step 1.) In a large bowl add flour, baking soda, baking powder, salt & cocoa powder. Whisk until well combined. Set Aside.


Step 2.) In a separate large bowl, add sugar and oil. Mix until combined.


Step 3.) Add in eggs, buttermilk, vanilla & red food coloring. Stir until combined.


Step 4.) Next add in the coffee & vinegar. Stir until combined.


Step 5.) Pour the flour mixture into the sugar mixture a little at a time.  Beating until well combined.


Step 6.) Pour the batter into 2 greased & flour 9 inch round cake pans. Bake for 30-40 minutes or until toothpick inserted into center comes out clean.  Another way to check for doneness is to lightly press the cake on top, if it springs back then it is done, if the dent remains in the cake then it is not done. Do no overbake.


Step 7.) When the cakes are done let them cool in the pan for about 10-15 minutes. Then remove them from the pan and let them finish cooling on a wire rack.


While the cakes are cooling let's make the frosting!!

Step 1.) In a bowl combine cream cheese, milk, vanilla & butter. Mix until combined.


Step 2.) Add in powdered sugar and mix until silky smooth! Oh yall let me tell ya! I made this frosting with only 1 3/4 cup of powdered sugar because I ran out and it was soooo silky smooth! Try it that way and if you prefer a thicker frosting then go ahead and add in that other 1/4 cup of powdered sugar.


Done!! 
Wasn't that easy!! 
Go ahead and eat some frosting. I can never resist!

Time to Frost the Cakes!

Step 1.) When the cakes are completely cooled, lay the first layer down (flat side down). Be careful, these cakes are very delicate & soft.  Place a huge globe of frosting in the center and work your way out.  I'm using an offset spatula and HIGHLY recommend these for frosting cakes. LOVES IT!


Step 2.) Place the top layer on next (flat side down) and frost the top and sides.


ENJOY!!!


Oh guess what!? I got a new digital camera!! I know you can't tell from the pic quality lol. I'm still learning how to work it. Better pics are coming up for you all!!

Saturday, 14 November 2009

White Chocolate Raspberry Cheesecake Recipe


White Chocolate Raspberry Cheesecake

Lord have mercy! Who in the world thought of combining white chocolate, cheesecake & raspberries?? Whoever came up with this recipe idea I honestly and whole heartedly LOVE YOU!!! Seriously.

This white  chocolate raspberry cheesecake recipe is the BEST! I've tried about four of them, including The Cheesecake Factory's White Chocolate Raspberry Truffle Cheesecake  and pound for pound this lil recipe can hold it's own!! It is so creamy & silky smooth.

I love recipes like this that are simple but the end results look complicated. If you're trying to decided between several recipes for  a white chocolate raspberry cheesecake then go with THIS ONE!!

Watch me Make this DELICIOUS Cheesecake from start to finish!


Ingredients (all ingredients should be at room temperature)

1 1/2 cups chocolate cookies (cream removed), crushed (about 2 sleeves of cookies)
1/3 cup butter, melted
1 cup white chocolate chips (can use more)


4 (8 oz) packages of cream cheese, softened
1 1/2 cup sugar
3/4 cup milk
4 eggs
1 cup sour cream
1 Tablespoon vanilla
1/4 cup flour


1/2 cup of seedless, raspberry preserve
water (to mix with preserve)


Preheat oven to 350 
(prepare a water bath to place in the oven while oven is preheating)

Let's Make the Crust!


Step 1.) In a bowl combine the crushed cookie crumbs with the butter and mix until moistened.


Step 2.) Press the crumbs into the bottom of a prepared spring form pan and place in the freezer for at least 10-15 minutes.


Let's Make the Filling!


Step 1.) In a large bowl add the cream cheese and sugar. Beat on low speed until fluffy and free of lumps.


Step 2.) Blend in the milk & mix in the eggs one at a time, beating after each egg.


Step 3.) Add in the sour cream, vanilla, & flour. Mix until well combined


Step 4.) Remove the chilled crust from the freezer and pour on the chocolate chips until there is an even layer.


Step 5.) Pour the cream cheese mixture into the pan. (If you want your raspberry swirls to be all throughout the cheesecake and not just on the top then pour half the batter in the pan, proceed with step 6 and then pour the other half of the batter on top and repeat step 6. Did I confuse you)


Step 6.)  In a small bowl, mix raspberry preserve with enough water until it is thin & syrupy. With a spoon place a few swirls of raspberry preserve on top of the cheesecake.  Drag a knife through the cheesecake to swirl the raspberry preserve. 


Step 7.) Bake for 1 hour. When cheesecake is done simply turn off the oven and let cheesecake cool off completely in the oven.


Step 8.) When cheesecake has cooled, wrap it in saran wrap and place into the refrigerator overnight to completely set. Do not remove from pan until the next day.

Step 9.) If desired, when ready to serve garnish with cool whip, fresh raspberries and shaved white/ dark chocolate.


Sunday, 18 October 2009

Better Than Cheesecake Factory Pumpkin Pie Cheesecake


Better Than Cheesecake Factory Pumpkin Pie Cheesecake

One of the things I love most about fall is all the pumpkin-y desserts that surface everywhere, specifically PUMPKIN CHEESECAKE!!!!! I mean is it really possible to go wrong with combining homemade pumpkin pie and decadent cheesecake?? I didn't have to go looking far for a recipe for easy, delicious homemade pumpkin pie cheesecake because my girl Rhonda is known for whipping up a mean cheesecake.


This recipe takes center stage on her Thanksgiving dessert table and everyone always says "this cheesecake is better than cheesecake factory" hence the name.(Although I think ALL of Rhonda's cheesecakes are better than cheesecake factory : )

This pumpkin cheese cake is one of the best I've ever tasted. The pumpkin pie flavors and the cheesecake blends so well together. Very creamy, pure comfort food at it's best.


Ingredients (all ingredients should be at room tempt)
1 1/2 cups of graham cracker crumbs (could also use gingersnap cookie crumbs or a mixture of gingersnap & nilla wafer crumbs, YUM)
5 T. butter
1 T. sugar (for crust)
3 packs of cream cheese (8 oz bars)
1 c. sugar
1 t. vanilla
1 c. canned pumpkin
3 eggs
1 t. cinnamon
1/4 t. nutmeg
1/4 t. allspice
Optional garnishes (cool whip, pecans, mini chocolate chips)


Preheat Oven to 350
First Let's Make The Crust!


Step 1.) In a bowl combine graham cracker crumbs, butter, & sugar. Mix with a fork until crumbly.


Step 2.) Prepare your spring form pan by placing foil on the bottom and press the crumb mixture onto the bottom of the pan.


Step 3.) Place the crust in the stove for 5 minutes to set. Or you can place in the freezer for 30 minutes to set (I kinda prefer the taste of the crust this way. Originally Cheesecake
Factory freezes their crust overnight instead of baking them)


Let's Make the Filling!


Step 4.) In a large bowl beat cream cheese until fluffy and free of lumps. Mix in sugar & vanilla


Step 5.) Add in pumpkin, eggs, cinnamon, nutmeg, & allspice and mix just until well combined. Don't over mix.


Step 6.) Grease the side of your springform pan and pour the mixture into the pan


Step 7.) Place your cheesecake into the oven and place a shallow pan of water beneath it. The steam will help prevent cracking. Cook for 60 minutes or until outside of cheesecake is set. (The center will still be a little jiggly but this will set as it cools.) DO NOT OPEN THE OVEN DURING COOKING TIME.


Step 8.) When cheesecake is done, turn off the oven, prop the oven door open slightly and allow cheesecake to cool in the oven for about an hour. After an hour you can place the cheesecake on the counter to finish cooling.


Step 9.) When cooled, wrap in several layers of Saran wrap and place in the refrigerator for 8 hours or overnight. Do not remove from pan. This will allow all the flavors to combine and the cheesecake to fully set.


Step 10.) After the cheesecake has set in the refrigerator you may then remove it from the pan & garnish it with pecans & cool whip if desired. I normally garnish it right when I'm about to serve it .